The Stb-tester Portal#
To control your Stb-tester Nodes, visit your Stb-tester Portal in a web
browser. The address is something like https://<company>.stb-tester.com
where <company> is different for each company or team. If you don’t know
the address of your Stb-tester Portal, contact support@stb-tester.com.
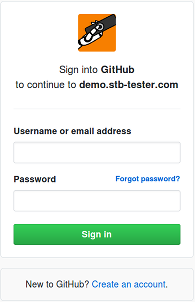
Sign in#
The portal uses your GitHub account to log in. If you don’t already have a GitHub account, you can create a free account at https://github.com/.
The first time you log in, you will be redirected to a GitHub authorization form that asks you to grant us permission to see your email address and GitHub username. We use this information for authentication; we do not have access to your private Git repositories or any other account information.
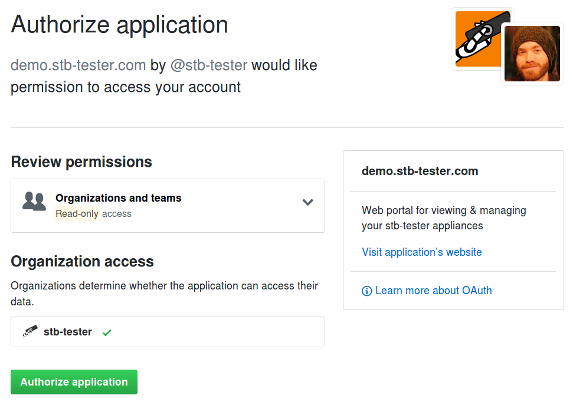
Only users with access to the test-pack git repository are authorized to access the Stb-tester Portal. See User Access Control.
Select your device#
Click on the device name at the top left corner of the screen to access a menu where you can quickly switch between your devices:
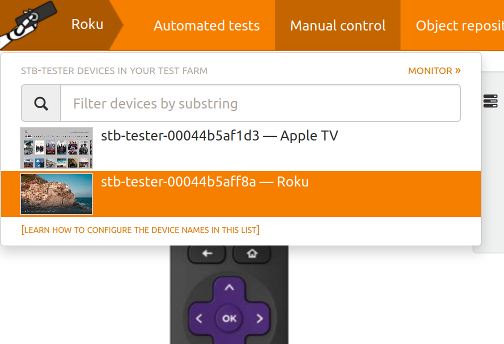
For more details, see Test farm in the User Interface Reference.
Live video#
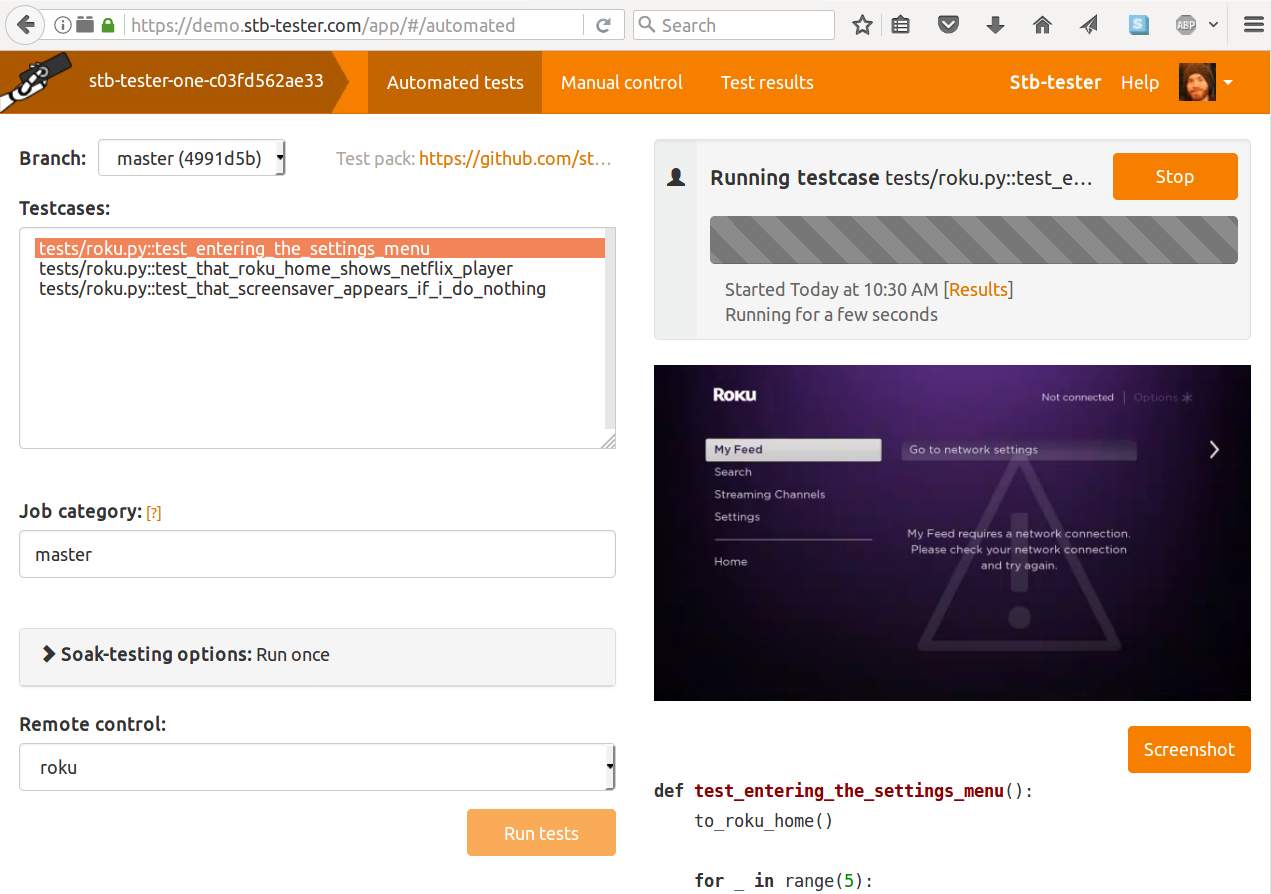
In the right-hand pane you should see the live video from your device-under-test:
If the video doesn’t play#
The live video may not work if there is a complicated NAT or firewall between your network and the Stb-tester Node’s network. If the video doesn’t play, you can view a low-framerate stream of JPEG screenshots from the settings menu underneath the video:
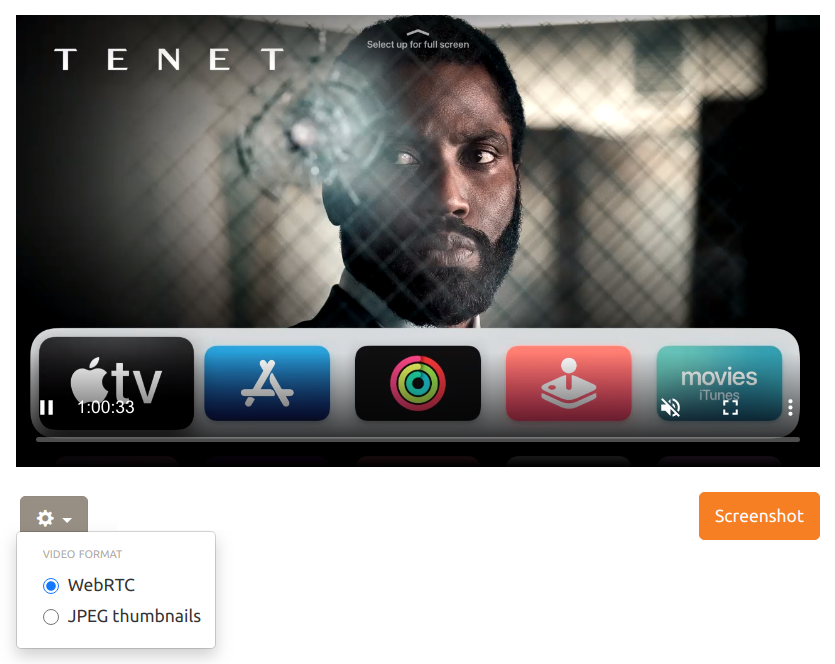
For more details, see Live video formats in the User Interface Reference.
Manual control#
On the Manual control tab you can send keypresses interactively to the device-under-test.
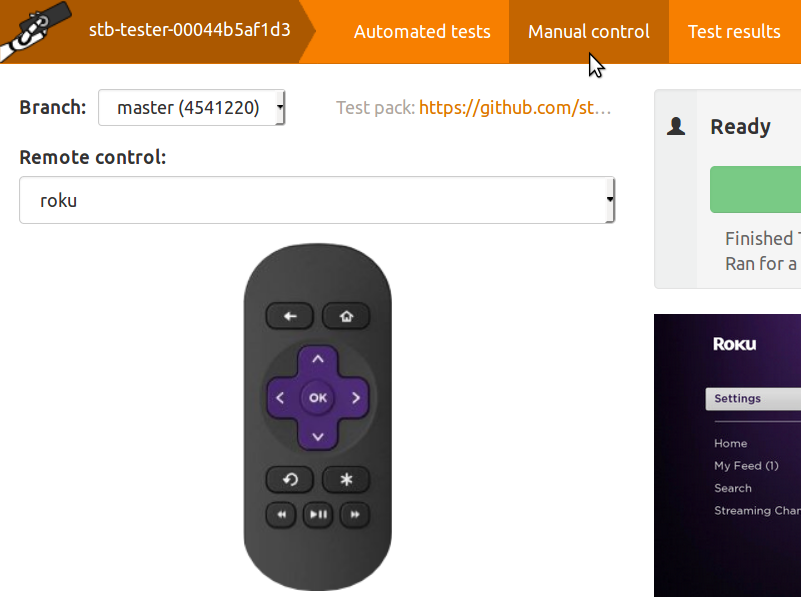
Each model of set-top box recognizes a different infrared protocol. Choose the appropriate configuration from the “Remote control” drop-down menu. For more details see Remote Control Configuration.
Run a test#

The Stb-tester Portal comes with some example testcases. Select one (or more) testcases and press .
While the test runs, you will see the status of the test in the right-hand pane, above the live video.
View test results#
When the test has completed, click on the “[Results]” link. You will see the results of all the tests in the job you just ran. Click on a row to view details of that test-run, including a video recording, logs, and other test artifacts.
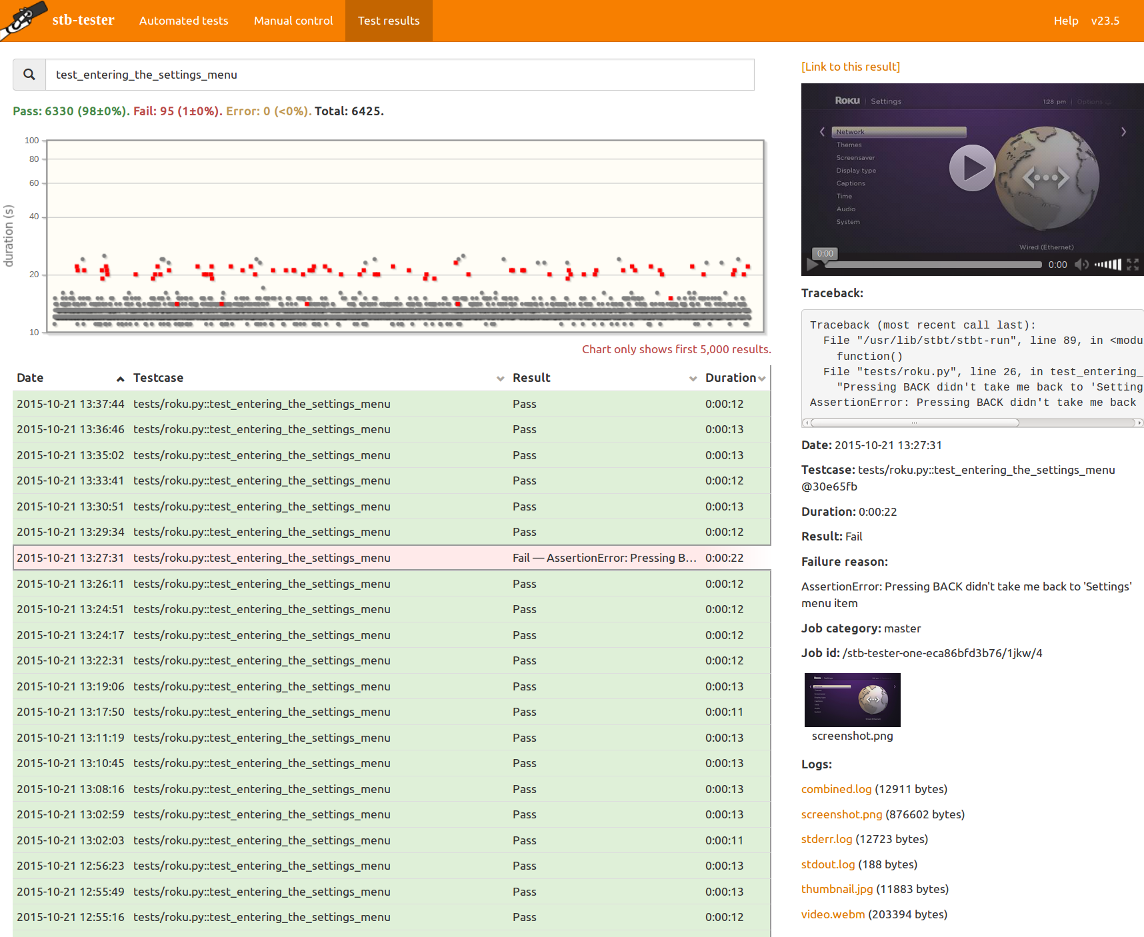
You can search through previous test runs using the search filter. See the User Interface Reference for details.
The test-pack git repository#
The testcases (Python scripts) are stored in a git repository, along with some configuration files. This git repository is hosted on GitHub in a private repository — only users in your organization will have access.
The address of the git repository is shown in the Stb-tester Portal:

Follow that link to view your test scripts in GitHub’s web interface.
Next steps#
If you haven’t plugged in the “Stb-tester Node” hardware yet, see Hardware Setup and Device Configuration.
If you will be writing Python tests, set up your development environment by following the instructions in IDE Setup: VS Code.
Then follow the tutorial: Writing your first test.