Custom remote control image#
The following instructions are also available as a video here.
The following instructions are to configure a custom graphic for your remote control in the Manual control tab of the Stb-tester Portal:

The available remote controls (in the drop-down list) come from the
config/remote-control/*.lircd.conf files in your
test-pack git repository.
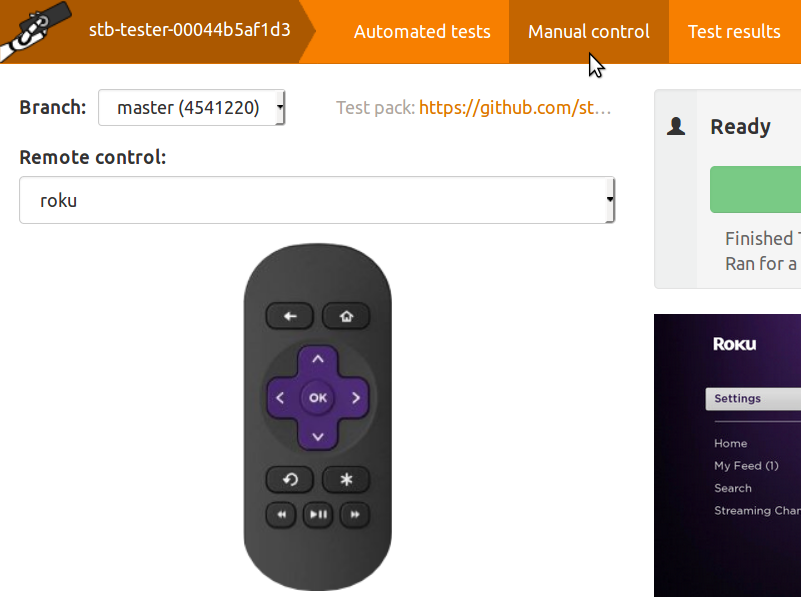
When you select a remote control from the drop-down list, the Stb-tester Portal displays an image of the remote control with buttons you can click to send the corresponding infrared signal to the system-under-test.
You can customise this image by creating an SVG file with the same prefix as
the *.lircd.conf file. For example, if there’s an infrared configuration
file called rcu123.lircd.conf, the corresponding SVG file is
rcu123.svg.
You only need to do this if Stb-tester’s built-in SVG doesn’t have all the buttons you need.
Create a new SVG with a vector-graphics program (we recommend Inkscape).
Import a jpeg or png image of your remote control into the vector-graphics program. When it asks you whether to embed the image or link to it, choose “embed”.
For each clickable button, draw a rectangle or circle at the appropriate location. These shapes must be in the foreground layer, and they must have a solid fill. However you can set the opacity of the fill colour to 1% which makes it effectively invisible (so that you can see the original button in the bitmap image underneath).
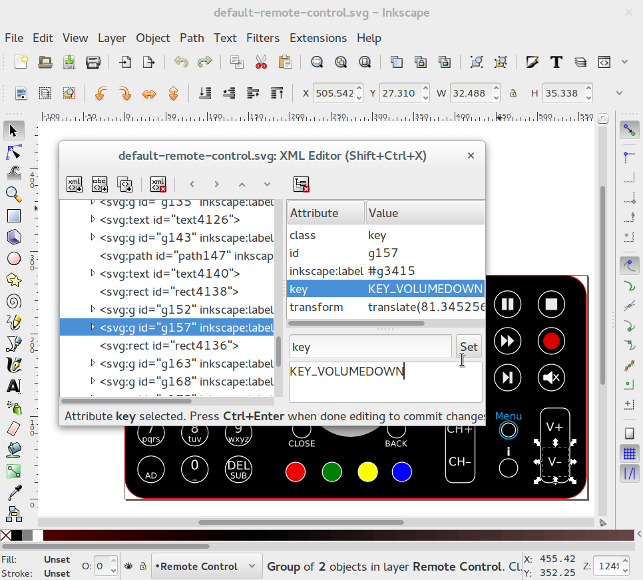
Each SVG element (square or circle) that will be a clickable button must have a class attribute set to the value key, and a key attribute set to the name of the key as specified in the lircd.conf file.
For example:
class=key
key=KEY_VOLUMEDOWN
To do this in Inkscape: select Edit > XML Editor, then click on the element you want to edit, and add the class and key attributes.

Commit the SVG image to the test-pack git repository, and use
git pushto push your commit to the upstream repository on GitHub.